Preface
I've been using Inoreader as my RSS service for a long time, but recently I found that Inoreader's access is not very stable, and some RSS feeds can't display content properly. Just then I came across Building an RSS Service with Docker and Traefik v2 - Su Yang's Blog, which uses Docker and Miniflux to set up a personal RSS service. I happened to have an idle free-tier cloud server (Oracle Cloud) on hand, so I decided to give it a try.
Some related tools and services:
Miniflux: An open-source, minimalist RSS service developed and maintained in Go by Frédéric Guillot. It supports browser access, Telegram push notifications, and can sync subscriptions with clients like Reeder (macOS) and FeedMe (Android) via the Fever API.
RSSHub: An RSS generator developed and maintained by DIYGod. It can convert content from various websites into RSS feeds, and works great when paired with Miniflux.
RSSHub Radar: Also developed and maintained by DIYGod. It's a Chrome extension that complements RSSHub by detecting RSS feeds on the current page and allowing one-click addition to Miniflux.
Telegram Bot: Telegram's bot service, which allows interaction with Telegram through the Telegram Bot API.
Chinese Independent Blog List: A GitHub repository maintained by timqian that collects RSS feeds from high-quality Chinese independent blogs.
Kill the Newsletter: A service that converts email newsletters into RSS feeds.
FeedMe - Android: An Android RSS app.
Reeder - macOS: A macOS RSS app.
Prerequisites
- A domain name (for HTTPS access; a subdomain works fine)
- A server (this article uses an Oracle x86 VPS with 1C1G configuration)
System Environment
- Ubuntu Server 24.04 LTS (x86_64)
Installing Docker & Docker Compose
For easier management, we'll use Docker & Docker Compose to deploy Miniflux and RSSHub services.
First, we need to install Docker and Docker Compose.
Update the package sources
sudo apt update && sudo apt full-upgrade -y
Install Docker
curl -fsSL https://get.docker.com -o get-docker.sh
sudo sh get-docker.sh
Install Docker Compose
sudo apt install docker-compose-plugin -y
Verify the installation
# Check Docker version
docker --version
# - Output
Docker version 27.0.0, build e92dd87

# Check Docker Compose version
docker compose --version
# - Output
Docker Compose version v2.27.0
Add the current user to the docker group (to avoid using sudo)
# Add current user to docker group
sudo usermod -aG docker $USER

# Modify the socket permissions so the docker group can access it
sudo chmod a+rw /var/run/docker.sock

# Restart Docker service
sudo systemctl restart docker

# Test if it works
docker info

# If no permission errors appear, it's successful
Enable Docker to start on boot
sudo systemctl enable docker
After installing Docker & Docker Compose, we can proceed to install Miniflux.
Installing Miniflux
Before installing Miniflux, we need to create a .env file in the same directory to store environment variables, such as Miniflux username, password, database username, database password, etc.
# Create directory
mkdir -p ~/docker/miniflux

# Create env file
vim ~/docker/miniflux/.env
# Esc + :wq to exit vim and save
Note: Replace the configuration information below with your own.
# .env
# Database username
POSTGRES_USER=erica
# Database password
POSTGRES_PASSWORD=erica1234
# Miniflux username
MINIFLUX_USERNAME=erica
# Miniflux password
MINIFLUX_PASSWORD=rss1234
# Miniflux base URL
MINIFLUX_BASE_URL=https://miniflux.domain.com
After creating the .env file, we need to create a compose.yml file to start Miniflux.
# Create configuration file
vim ~/docker/miniflux/compose.yml
# compose.yml
services:
  miniflux:
    image: miniflux/miniflux:latest
    container_name: miniflux
    restart: always
    ports:
      - "17025:8080"
    depends_on:
      - db
    environment:
      - POLLING_FREQUENCY=15
      - DATABASE_URL=postgres://${POSTGRES_USER}:${POSTGRES_PASSWORD}@db/$miniflux?sslmode=disable
      - BASE_URL=${MINIFLUX_BASE_URL}
      - RUN_MIGRATIONS=1
      - CREATE_ADMIN=1
      - ADMIN_USERNAME=${MINIFLUX_USERNAME}
      - ADMIN_PASSWORD=${MINIFLUX_PASSWORD}
    healthcheck:
      test: ["CMD", "/usr/bin/miniflux", "-healthcheck", "auto"]
  db:
    image: postgres:latest
    container_name: postgres
    restart: always
    environment:
      - POSTGRES_USER=${POSTGRES_USER}
      - POSTGRES_PASSWORD=${POSTGRES_PASSWORD}
    volumes:
      - miniflux-db:/var/lib/postgresql/data
    healthcheck:
      test: ["CMD", "pg_isready", "-U", "miniflux"]
      interval: 10s
      start_period: 30s
volumes:
  miniflux-db:

# Esc + :wq to exit vim and save
Points to note:
ports: Port 17025 is the external port on the container host, while 8080 is the internal port inside the container. You can modify these as needed.POLLING_FREQUENCY=15: This sets Miniflux's polling frequency to 15 minutes.
If you want to use your own database, you can comment out the db service and change the DATABASE_URL value to your own database address.
Start the Miniflux container
docker compose up -d
Verify the installation
Open the Miniflux address in your browser. If it loads successfully, the installation is complete.
# Check the server's IP address
curl -s https://icanhazip.com
Enter http://<IP>:17025 in your browser. If it loads successfully, Miniflux is installed.
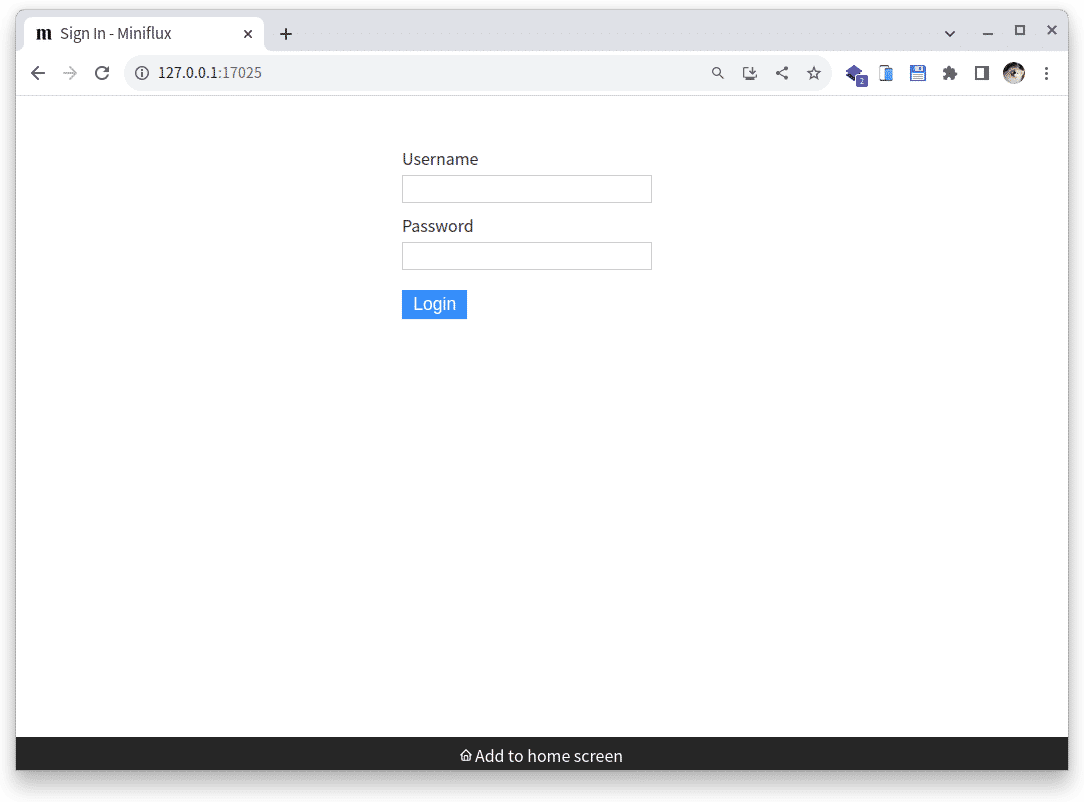
If the service is not accessible, check your firewall settings and cloud host security group settings.
Reference: Oracle Cloud Network Security Group Settings - EN
#
Installing RSSHub
Next, we'll install RSSHub, and finally use Nginx to reverse proxy both RSSHub and Miniflux services.
# Create directory
mkdir -p ~/docker/rsshub && cd ~/docker/rsshub
# Download the compose.yml file
wget https://raw.githubusercontent.com/DIYgod/RSSHub/master/compose.yml
# Check if any configuration needs modification
vim compose.yml
# Create a volume to persist Redis cache
docker volume create redis-data
# Start RSSHub; omit the -d flag to see logs in the foreground for troubleshooting
docker compose up -d
# View RSSHub logs
docker compose logs -f
Verify the installation
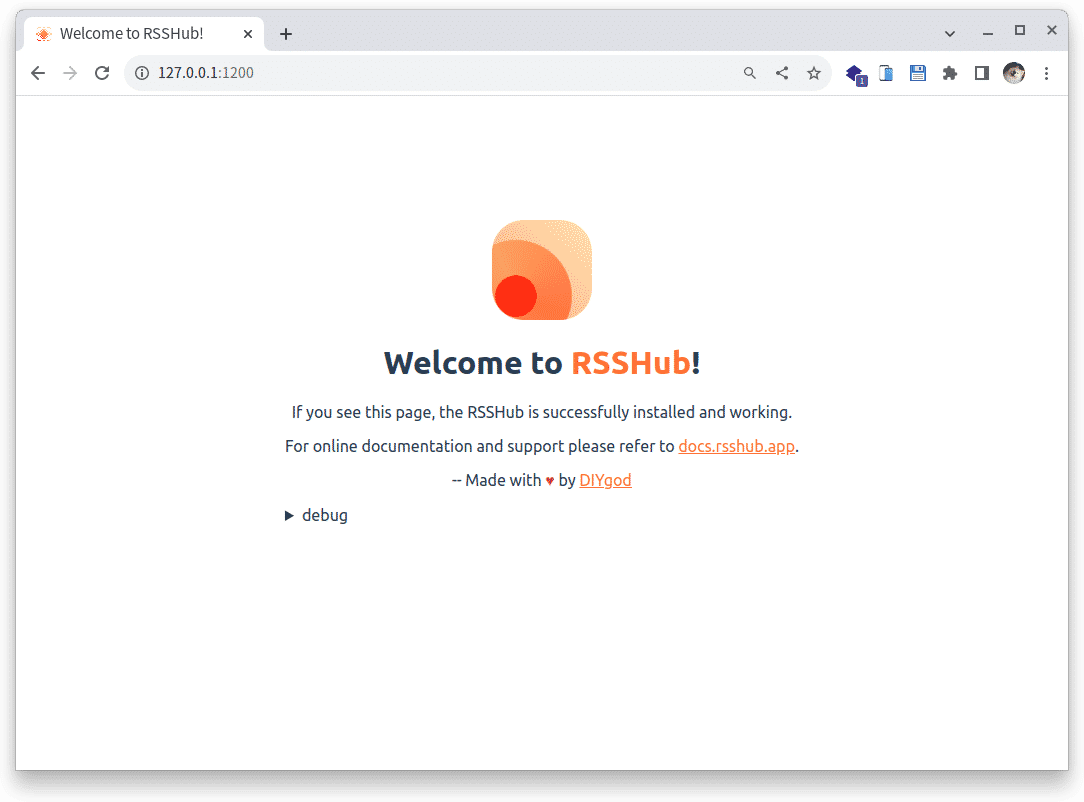
Open the RSSHub address in your browser. If it loads successfully, the installation is complete.
# Get the IP address
curl -s https://icanhazip.com
Enter http://<IP>:1200 in your browser. If it loads successfully, RSSHub is installed.
Installing Nginx Proxy Manager (NPM)
After starting Miniflux and RSSHub, we need to use Nginx to reverse proxy these two services. This allows us to access them via domain names and enable SSL encryption.
# Create directory
mkdir -p ~/docker/npm && cd ~/docker/npm

# Create configuration file
vim ~/docker/npm/compose.yml
Edit the compose.yml file
# compose.yml
services:
  app:
    image: 'jc21/nginx-proxy-manager:latest'
    restart: unless-stopped
    ports:
      - '80:80'
      - '81:81'
      - '443:443'
    volumes:
      - ./data:/data
      - ./letsencrypt:/etc/letsencrypt
Start the Nginx Proxy Manager container
docker compose up -d
Verify the installation
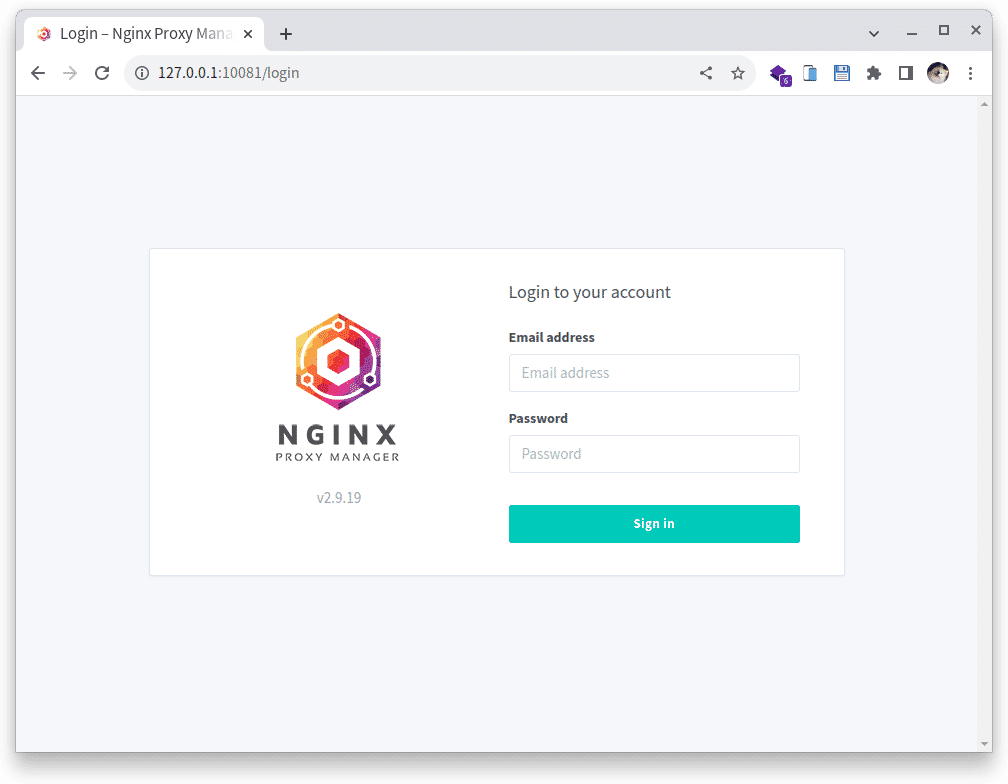
Open the NPM address in your browser. If it loads successfully, NPM is installed.
# Get the IP address
curl -s https://icanhazip.com
Enter http://<IP>:81 in your browser. If it loads successfully, NPM is installed.
Setting Up NPM Reverse Proxy
Log in to http://<IP>:81. The default username is admin@example.com and the default password is changeme.
After logging in, be sure to change the default email and password. The email will be used for receiving security certificate renewal notifications.
Get the Docker Container IP
Before setting up the reverse proxy, we need to get the Docker container's IP.
Run the following command in the terminal to get the Docker container IP:
# Run the following command
ip addr show docker0
# Output looks like this:
3: docker0: <NO-CARRIER,BROADCAST,MULTICAST,UP> mtu 1500 qdisc noqueue state DOWN group default
    link/ether 02:42:a6:c8:15:72 brd ff:ff:ff:ff:ff:ff
    inet 172.17.0.1/16 brd 172.17.255.255 scope global docker0
       valid_lft forever preferred_lft forever
The 172.17.0.1 above is the Docker container IP.
Now, let's continue with the steps to set up the NPM reverse proxy.
Add Miniflux Reverse Proxy
- On the Dashboard page, click the
0 Proxy Hostcard to add a reverse proxy. - On the
Proxy Hostpage, click theAdd Proxy Hostbutton. TheNew Proxy Hostwindow will appear. - In the
New Proxy Hostwindow, fill in the following:Domain Names: Enter your domain name, e.g.,miniflux.domain.com.Scheme: Keep the defaultHTTP.Forward Hostname / IP: Enter the Docker container IP, e.g.,172.17.0.1.Forward Port: Enter17025.
- Switch to the
SSLtab. In theSSL Certificateoption, selectRequest a new SSL Certificate with Let's Encrypt.- Enable the
Force SSLoption. - Enable the
HTTP/2 Supportoption. - Agree to the
Let's Encrypt Terms of Service.
- Enable the
- Click the
Savebutton to save the settings. (This may take a while as the certificate is generated.) - Finally, click the
miniflux.domain.comlink you just added. If it loads successfully, the NPM reverse proxy is set up correctly.
Add RSSHub Reverse Proxy
Repeat the steps above to add the RSSHub reverse proxy, filling in the following:
Domain Names: Enter your domain name, e.g.,rsshub.domain.com.Scheme: Keep the defaultHTTP.Forward Hostname / IP: Enter the 'Docker container IP'.Forward Port: Enter1200.- Switch to the
SSLtab. In theSSL Certificateoption, selectRequest a new SSL Certificate with Let's Encrypt.- Enable the
Force SSLoption. - Enable the
HTTP/2 Supportoption. Email Address for Let's Encrypt: Enter your email address.- Agree to the
Let's Encrypt Terms of Service.
- Enable the
- Click the
Savebutton to save the settings. (This may take a while as the certificate is generated.) - Finally, click the
rsshub.domain.comlink you just added. If it loads successfully, the NPM reverse proxy is set up correctly.
Verify the Reverse Proxy Setup
✅ Access Miniflux via https://miniflux.domain.com. If it loads successfully, the NPM reverse proxy is set up correctly.
✅ Access RSSHub via https://rsshub.domain.com. If it loads successfully, the NPM reverse proxy is set up correctly.
✅ After setting up the NPM reverse proxy, it is recommended to close the corresponding port access in the cloud host's security group to prevent malicious access.
(Optional) Using Caddy as a Reverse Proxy
If you prefer not to use NPM, you can also use Caddy as a reverse proxy.
The configuration file is as follows:
vim caddyfile
miniflux.example.org
reverse_proxy miniflux:17025
services:
  caddy:
    image: caddy:2
    container_name: caddy
    depends_on:
      - miniflux
    ports:
      - "80:80"
      - "443:443"
    volumes:
      - $PWD/Caddyfile:/etc/caddy/Caddyfile
      - caddy_data:/data
      - caddy_config:/config
  miniflux:
    image: ${MINIFLUX_IMAGE:-miniflux/miniflux:latest}
    container_name: miniflux
    depends_on:
      - db
    environment:
      - DATABASE_URL=postgres://miniflux:secret@db/miniflux?sslmode=disable
      - RUN_MIGRATIONS=1
      - CREATE_ADMIN=1
      - ADMIN_USERNAME=admin
      - ADMIN_PASSWORD=test123
      - BASE_URL=https://miniflux.example.org
  db:
    image: postgres:15
    container_name: postgres
    environment:
      - POSTGRES_USER=miniflux
      - POSTGRES_PASSWORD=secret
    volumes:
      - miniflux-db:/var/lib/postgresql/data
    healthcheck:
      test: ["CMD", "pg_isready", "-U", "miniflux"]
      interval: 10s
      start_period: 30s
volumes:
  miniflux-db:
  caddy_data:
  caddy_config:
Source: caddy.yml - github
(Optional) Using Traefik as a Reverse Proxy
If you prefer not to use NPM, Traefik is also a great choice.
The configuration file is as follows:
services:
  traefik:
    image: "traefik:v2.3"
    container_name: traefik
    command:
      - "--providers.docker=true"
      - "--providers.docker.exposedbydefault=false"
      - "--entrypoints.websecure.address=:443"
      - "--certificatesresolvers.myresolver.acme.tlschallenge=true"
      - "--certificatesresolvers.myresolver.acme.email=postmaster@example.com"
      - "--certificatesresolvers.myresolver.acme.storage=/letsencrypt/acme.json"
    depends_on:
      - miniflux
    ports:
      - "443:443"
    volumes:
      - "./letsencrypt:/letsencrypt"
      - "/var/run/docker.sock:/var/run/docker.sock:ro"
  miniflux:
    image: ${MINIFLUX_IMAGE:-miniflux/miniflux:latest}
    container_name: miniflux
    depends_on:
      - db
    expose:
      - "8080"
    environment:
      - DATABASE_URL=postgres://miniflux:secret@db/miniflux?sslmode=disable
      - RUN_MIGRATIONS=1
      - CREATE_ADMIN=1
      - ADMIN_USERNAME=admin
      - ADMIN_PASSWORD=test123
      - BASE_URL=https://miniflux.example.org
    labels:
      - "traefik.enable=true"
      - "traefik.http.routers.miniflux.rule=Host(`miniflux.example.org`)"
      - "traefik.http.routers.miniflux.entrypoints=websecure"
      - "traefik.http.routers.miniflux.tls.certresolver=myresolver"
  db:
    image: postgres:15
    container_name: postgres
    environment:
      - POSTGRES_USER=miniflux
      - POSTGRES_PASSWORD=secret
    volumes:
      - miniflux-db:/var/lib/postgresql/data
    healthcheck:
      test: ["CMD", "pg_isready", "-U", "miniflux"]
      interval: 10s
      start_period: 30s
volumes:
  miniflux-db:
Source: traefik.yml - github
Subscribing to RSS with Miniflux
Language settings: After logging into Miniflux, click Settings. In the Language option, select 简体中文, then click the Save button at the bottom of the page to save the settings.
Article sorting: On the same page, under the Article sorting label, select New->Old, then click the Save button at the bottom of the page to save the settings.
Adding a new feed: At the top of the page, find the Feeds(+) label and click the + label. Enter https://pinw.ca/zhs/index.xml, then click the blue Find feed button. After a moment, Miniflux will automatically fetch the RSS information and add it to the subscription list.
Note: The https://pinw.ca/zhs/index.xml above is the RSS address of my blog. Feel free to subscribe.
Subscribing to RSS with RSSHub
Although Miniflux provides a great experience, it can only subscribe to RSS feeds, not other types of content like Bilibili, YouTube, etc. This is where RSSHub comes in to help us subscribe to other types of content.
Subscribing to Bilibili
Open RSSHub, enter bilibili in the search box, and click Bilibili->User Dynamics.
Subscribing to YouTube
Open RSSHub, enter youtube in the search box, and click YouTube->User.
Remember to replace rsshub.domain.com with the reverse proxy domain you just set up.
Subscribing to RSS with RSSHub Radar
Although RSSHub provides many routing rules, it's inconvenient to always open RSSHub to search for the corresponding route. This is where a tool to help us discover the routes provided by RSSHub comes in handy.
RSSHub Radar is a Chrome extension developed by RSSHub's author DIYgod. It helps you quickly discover RSS routing rules for the current website.
- Click RSSHub Radar - Chrome Extension to download and install the RSSHub Radar extension.
- Click the RSSHub Radar extension icon, then click the
Settingsbutton to enter the settings page. - In the
Generalsettings, fill in theCustom RSSHub domainwithrsshub.domain.com. - In the
One-click subscriptionsettings, checkEnableand fill in theCustom Miniflux domainwithminiflux.domain.com.
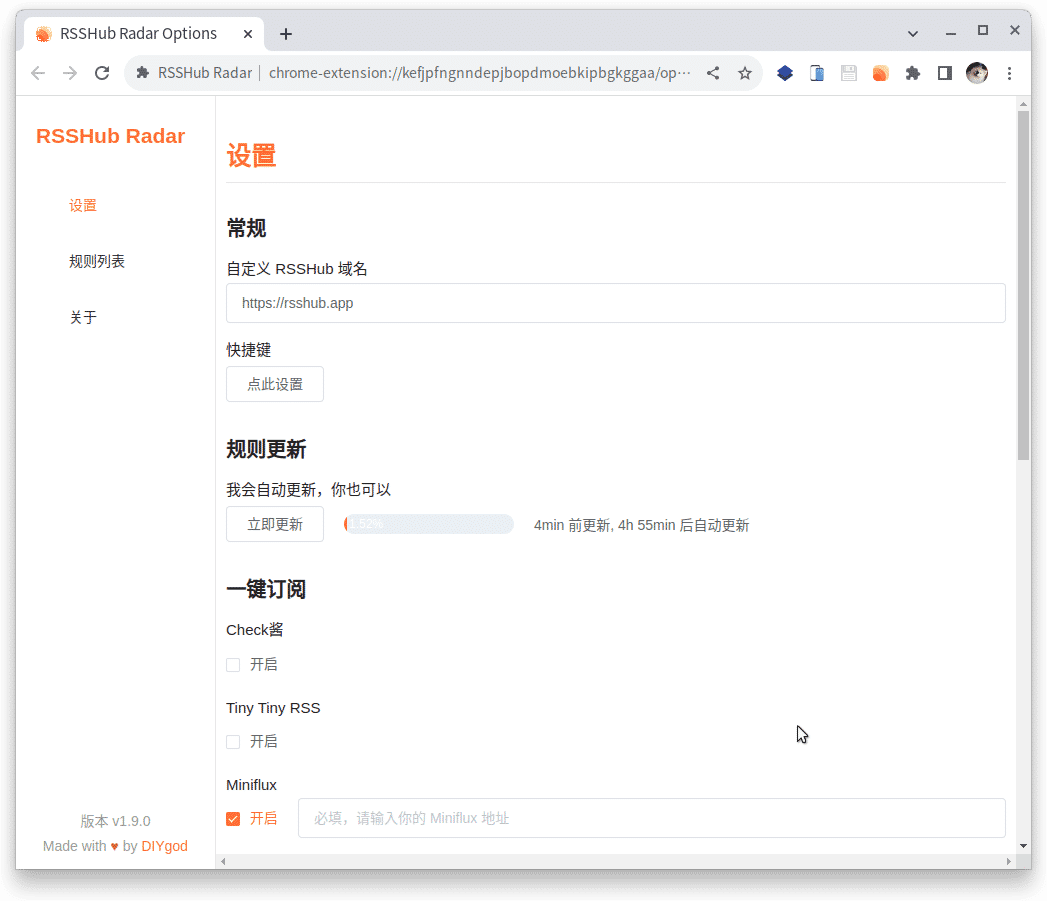
Now, you can use the RSSHub Radar extension on any website.
Syncing RSS with the Fever API
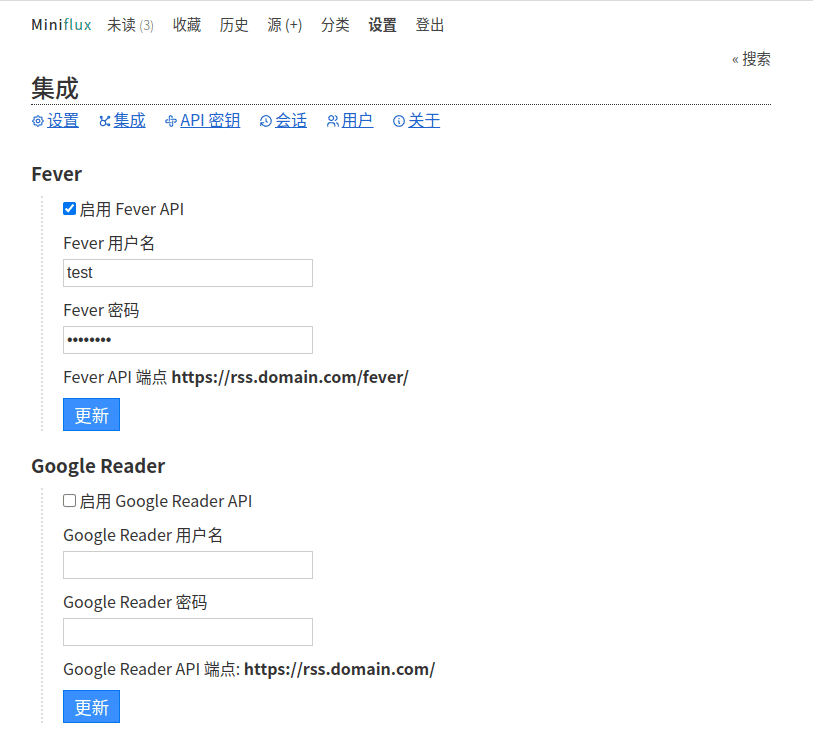
The Fever API is an RSS synchronization protocol that allows you to sync (read-only) RSS to other RSS readers, such as FeedMe.
- Click the
Settingsbutton to enter the settings page. - Click the
Integrationsbutton to enter the integrations page. - Check the
Enable Fever APIoption and fill in theFever usernameandFever password. - Click the
Updatebutton to save the settings.
Reading on Android
FeedMe is an RSS reader for Android that can sync Miniflux RSS via the Fever API.
Telegram Bot Push Settings
- Search for
@BotFatherin Telegram and send the/startcommand to enter BotFather. - Send the
/newbotcommand to start creating a bot. - Enter the bot's name, e.g.,
RSS Notification. - Enter the bot's username, e.g.,
123wasdRSSPushbot. - Copy the bot's token, e.g.,
123456789:ABCDEF1234567890ABCDEF1234567890ABC. You'll need this later. - Search for
@getidsbotin Telegram and send the/startcommand to get the Chat ID. - Copy the Chat ID, e.g.,
1234567890. You'll need this later. - Log in to Miniflux, click the
Settingstab, and enter the settings page. - Click the
Integrationstab to enter the integrations page. - Scroll to the bottom of the page, find the
Push new articles to Telegramoption, check it, and fill in theBot tokenandChat IDyou just copied. - Click the
Updatebutton to save the settings.
After this, whenever Miniflux has a new article, it will be pushed to your Telegram account via the Telegram Bot.
Note: If you need to push to a group or channel, you must add the bot to the group or channel, then send /start in the group or channel to get the current Chat ID.
Summary
After a pleasant bit of tinkering, we can finally enjoy using our own RSS service smoothly.
Enjoy it!